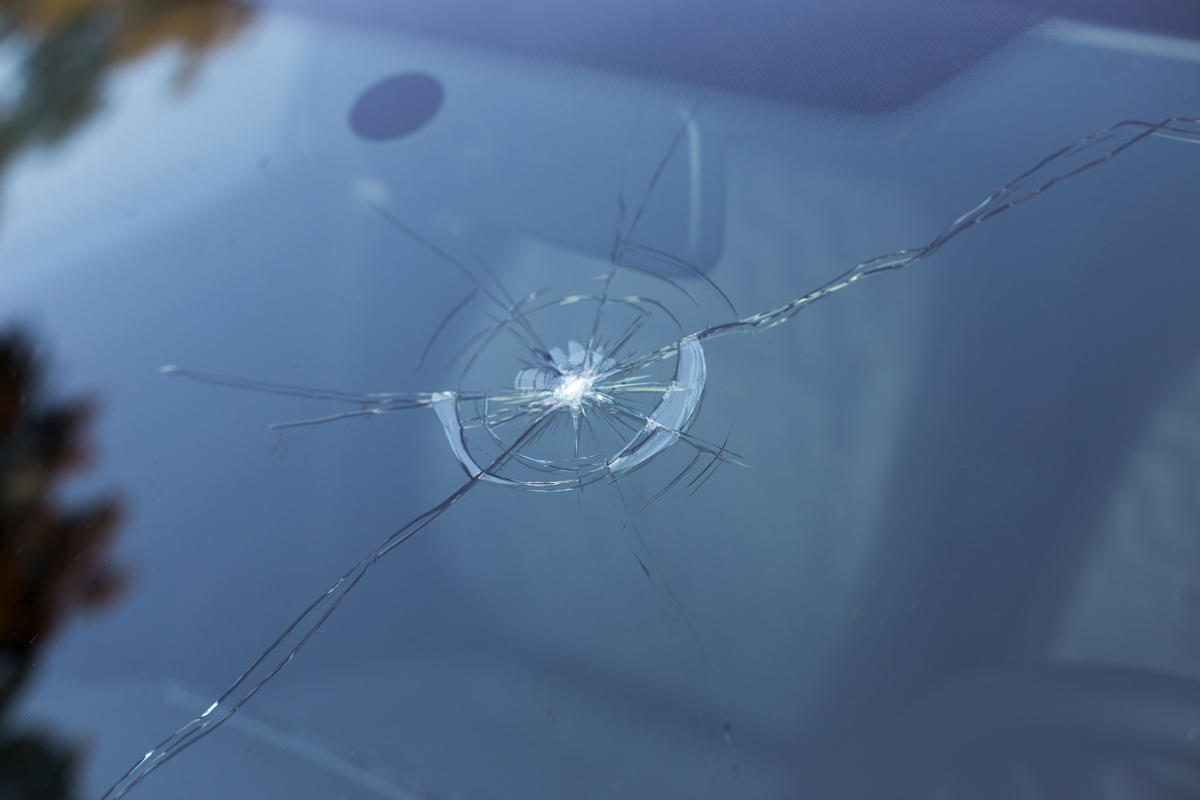
Imagine this: you’ve purchased a brand new vehicle for yourself, and need to show it to your partners. The first day, as you take the vehicle from the garage to drive down to your lair, a rock speeds up to it and hits the windshield. Crack. Horrible, is not it? – Windshield, an incredibly fundamental part of any vehicle can also be the most vulnerable part of it. Even the smallest of stress may cause harm to it. Nothing seems worse than a fashionable car with a windshield with a processor or a crack on it. Seeking help from a pro is always advisable, particularly if the injury is large, but there is nothing like realizing the basics yourself since you never know when this kind of situation arises, and you’re forced to do it on one’s own.
Before we go on to understand to replace the usual windshield, lets do the usual fast recap of what this car part is about, and why can it be so significant. Windshield, as the name applies, protects the individual on the driver’s seat as good as some other residents in the vehicle from the gush of air that triggers inside while driving an auto on high speed. In addition, it streamlines the rapid movement of the usual car or the usual bike. When there is the usual damage on the windshield, it ought to be witnessed with immediate effect as delaying it could cost you your life or the lives of your near and dear ones.
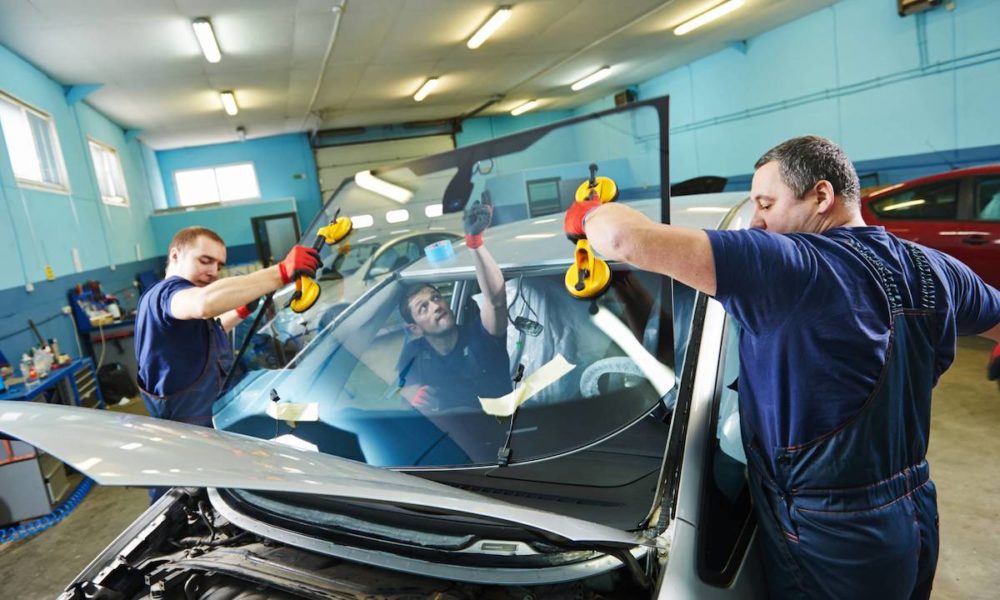
Now, how to replace a damaged windshield? First, remove exterior molding of the windshield with the usual trim remover, and screw open all the clips that hold the windshield in place. Now, cut the adhesive material that’s utilized to secure the windscreen to the vehicle frame and run the tool Along the entire perimeter. Slicing right throughout the material in an immediate manner may free the glass from the frame. Then with a suction cup grabber lightly draw the windshield glass from the vehicle frame. Clean it with an efficient adhesive solvent, and apply primer answer and windshield bonding to the cleaned frame.
Utilize the usual caulking gun to apply windshield adhesive to the frame. Once you’re done with it, spot the usual suction cup grabber on the surface the new windshield and cautiously set it into the frame. Then remove excess adhesive utilizing a scrape, and permit the new windshield to settle effectively into position. Lastly, replace the molding and cut the pieces in reverse order.
Comments
0 comments